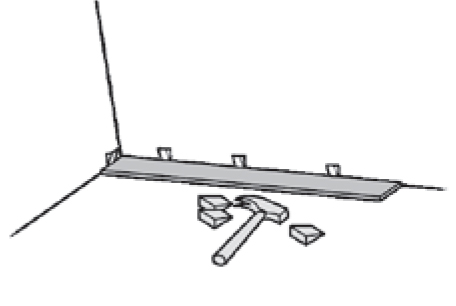
An expansion gap of at least 10 mm must be provided between the edges of the parquet boards and the wall or other fixed structures, such a heating pipes or door frames. In very large rooms this gap is not sufficient and in such cases the necessary gap width is calculated by multiplying the maximum room width (in metres) by 1.5 mm. Use wooden wedges for maintaining the expansion gaps during installation.
We recommend that the parquet boards are laid parallel to the direction of the main light source. If the parquet is to be laid on top of old wooden flooring, the boards should be laid perpendicular to the direction of the old flooring. We recommend that the first board be laid against the wall with the grooved edge facing the wall. If the wall you start laying against is not straight, you will need to fit the boards to the shape of the wall by laying the first row against a string. Begin each new row with an offcut left over from the previous row. The distance between the end-joints of adjoining boards must be at least 50 cm.
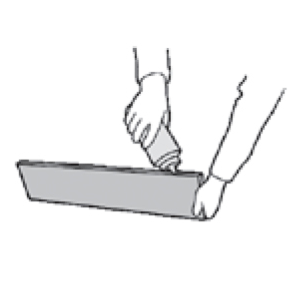
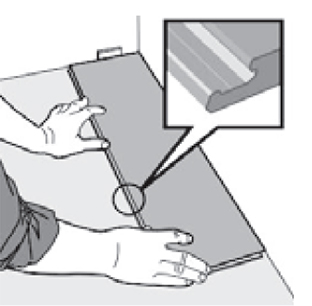
Apply the glue using a bottle with a long nozzle and spread into the grooves of the boards. PVAC glue is used.
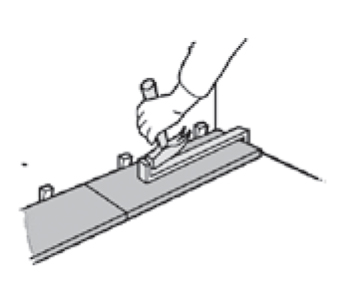
Tap the individual boards into the groove using a protective wood block of 30 - 40 cm in length between the hammer and the tongue edge. Do not use force.
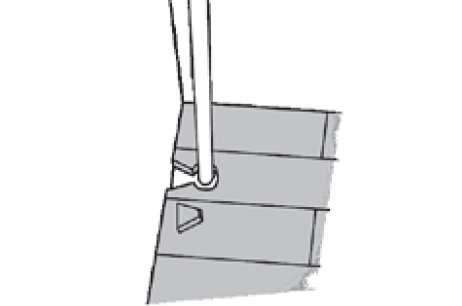
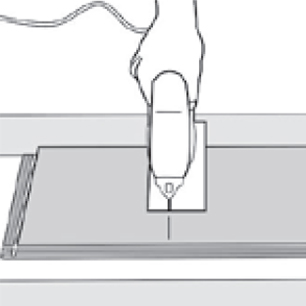
For pipe lead-throughs, drill holes with a diameter about 20 mm larger than of the pipe. Saw out a piece as shown in the diagram. Insert the sawn out piece after the parquet floor has been laid.

Saw the last row of parquet into its correct width taking into account the expansion gap required. Use wooden wedges for the fixing of this edge.
Chisel may be used for cut-offs.
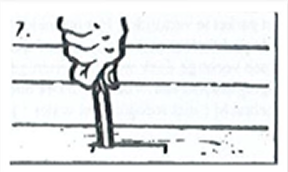
Start in the left-hand corner of the room. Place a distance about 10 mm thick to the left. And position the plank to the wall (tongue face into the toom).
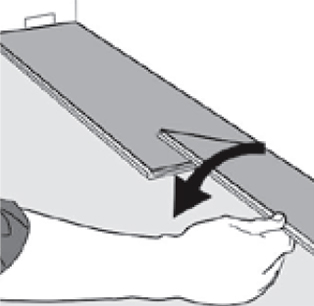
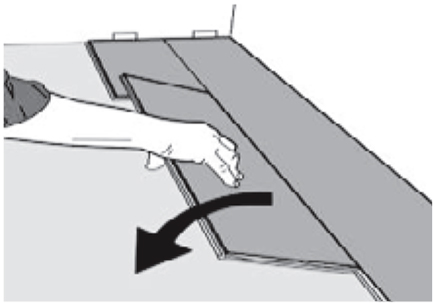
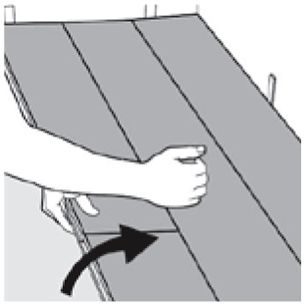
Place second plank gently and tight to the short end of first plank. Fold down the panel down in a single action movement. During the fold down make sure the panels are tight against each other. Afterwards press or slightly knock at the short end just installed.

At the end of first row, put a distance about 10mm to the wall and measure the length of the last plank to fit.
Cut with a jig saw hardwood face turned down or with a handsaw with hardwood face up.
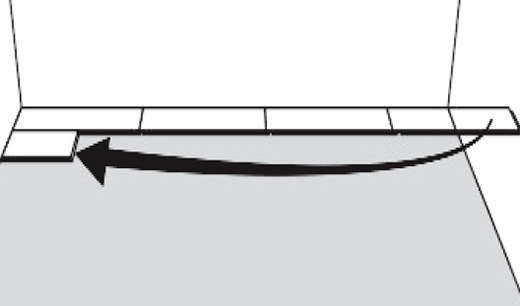
Second row. First plank minimum 500 mm. Put a distance to the wall about 10 mm thick.
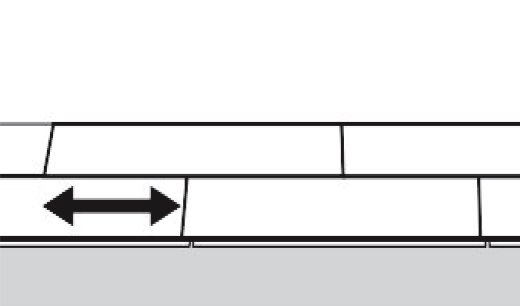
General: Minimum distance between short end of planks in parallel rows shall not be less than 400 mm.
Second plank, second row: Place the panel gently and movement tight to the short end of the previous.
Fold down in a single action with a slight press to the short end of the previous. During fold down make sure the panels are tight against each other.
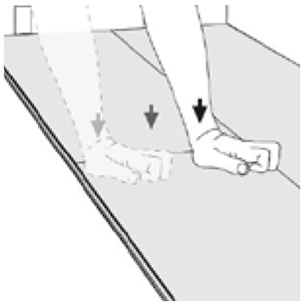
Press or knock slightly along the short end of the installed panel.
After 3 rows, adjust the distance to front wall by placing distances about 10 mm to the wall.
Last row (and perhaps also first row): Minimum width 50 mm. Remember the approximate 10 mm distance to wall! Cut the panels lengthwise and glue the short ends.
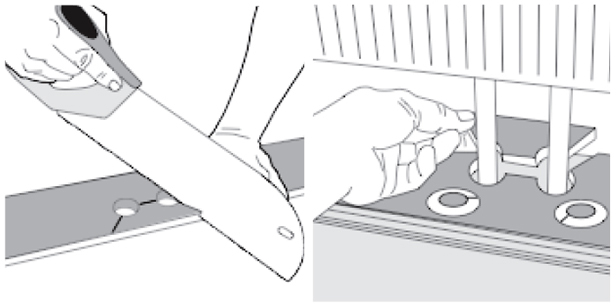
For installation of radiators, please drill the holes 20mm larger than the diameter of pipes.
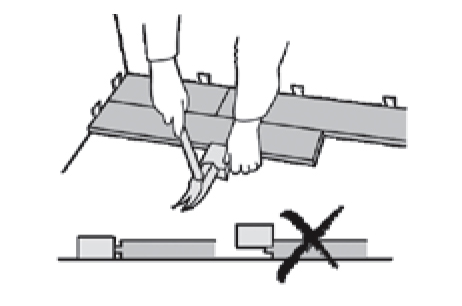
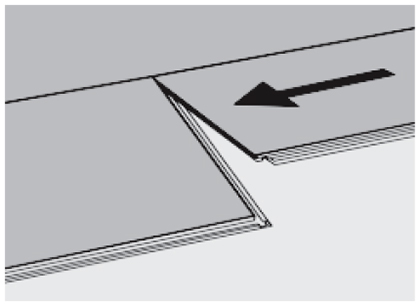
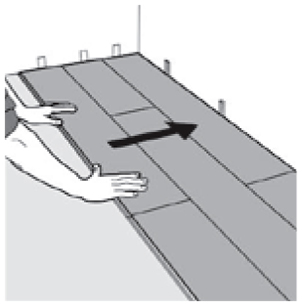
Separate the whole row by carefully lifting up and slightly knocking just above the joint. Fold up and release the whole long side.
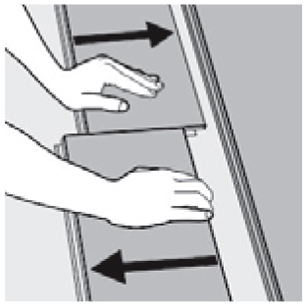
Disassemble the panels by sliding horizontally. (Do not fold up!).